Everything is cleaned (as well as you can clean 40 year old parts) and/or painted. It is time to reassemble, which I consider being the best part. So I am glad I followed my own advice and I took a lot of pictures because I needed them. I decided to start with the head set.
I waited for a week between painting the frame and reassembly to ensure the paint had fully cured. I had a few chips on the paint because I dropped the frame a few times. And to be honest the spray paint is not very durable at all even with 5 or 6 coats. For the next frame I am definitely going to try to use the auto paint out of a paint gun. The head set is pretty easy to assembly just refer to your picture and get everything in the right order. The difficult part comes to knowing how tight to screw each part. Basically you tighten the first nut just hand tight and test the motion of the fork. Once you are satisfied then put on the top nut and crank down. (Make sure to grease all threads.)
Next I slipped the handlebars into the stem and then tightened down everything just till snug. At the end I will go through and tighten before riding. I attached all the brake levers and 3 speed switch.

Then I took apart the bearings on the wheels and cleaned and greased them. This is pretty easy but make sure you know the order of each part you are taking off. For the Shimano 3 speed hub you use oil to lubricate the internal gears. While I had the rear hub apart I dropped a good amount of 10-30W oil in. This seems to really help the hub and it is recommended to add a few drops every couple of months. I had to buy new tubes for the bike but they weren't too hard to find. The tires are 26" x 1 3/8" which was pretty common for this age of bike. I think you can even buy this size tire at Wal-Mart but I suggest supporting your local bike store. So after reassembling the wheels I went to attach the back wheel and noticed the frame was pretty bent. I stuck the dropouts into the vice and gently bent the frame. And this is where I really noticed how easily the paint chips.

Now on to the brakes, luckily I kept everything together so with using my pictures they weren't too hard to put back together. But once together this is where I was stumped. So I know you will need to "toe-in" brake pads but I thought that just came from having the pads worn in a bit. But with help from Tom at the Velo Cult Bike shop (where I got all my parts, very helpful) he enlightened me that I have to actually bend the metal hangers. They have a special tool for this, but I used an adjustable wrench and it worked pretty well. Just tighten the wrench onto the hanger and bend slowly in whatever direction you need to align the pads with the rims. Scary but this is how they were made.

Now on to the cranks, this is also as easy as the headset. Basically just grease everything and put it together in the right order. Then the inner screw is tightened so there is no play (read doesn't move when shaken) but still turns easily. Then tighten down the outer nut, sometimes you will need to loosen the inner nut just a quarter turn before tightening the outer nut.

So I searched forever to find a saddle that was comfy but still went with the style of the bike. The old saddle was way beyond restoration. So I did a good internet search but wither found Brooks saddles or the hidious huge cruiser type saddles. Luckily at Velo Cult they had the old couch style saddle for around $30. That was an easy buy.
Next was to install the fenders. I think fenders look great but are so annoying to install and keep from touching the wheel. They were pretty easy to install with a few screws at each drop out.
Next Post will be on the finishing touches like running cable.


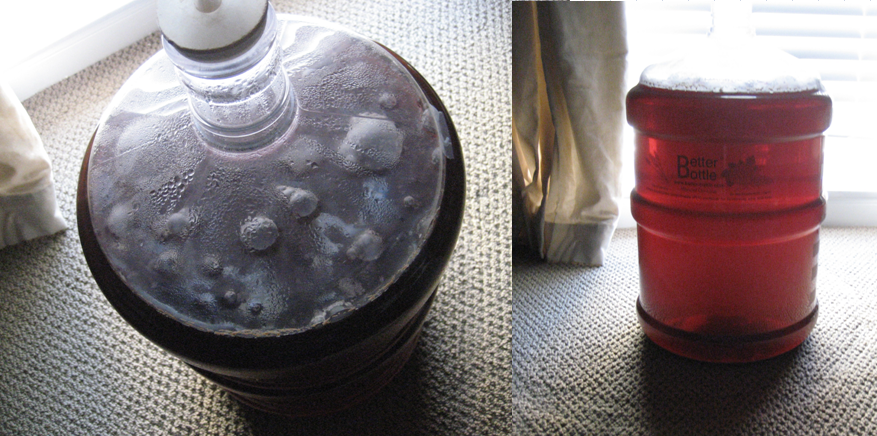
 For this little experiment ordering online was far too expensive. So I found some tart cherries in light syrup at a local ethnic market (North Park Produce). Now these cherries are pitted and I have read about the complexity/nuttiness that can be added from the pits. So I decided to also buy some fresh sweet cherries. So I froze the fresh cherries for a few days to break down cell walls. I have decided to do a double dosing of cherries for this beer. The reason for this is to give the dregs some new sugar to start on but then I will also want some fresh cherries flavor also so I will add a month or so before bottling So to start I added .5 lb of the tart cherries and .5 lb of the frozen sweet cherries to a 1 gal container then racked my Summer Solstice beer on top. I put that into the beer fridge at 60 and added the dregs from an Old Beersel Framboise. I'm not sure how well these dregs will do since there didn't seem to be a lot. I will let this go about a month to see if I get any pellicle, if not I have a 750 bottle of Cantillon Kriek (I might add it regardless). So I'll update this entry as we progress.