Alright so I have the bike completely disembled and it looks ugly. This frame started out white and is now a nice light brown. It also had some spots of bright orange. How you ask, it was in the crossfire of a paintball fight inside our house in college. This bike is all about style so it needed to be repainted. And I care nothing about the re-sale value or ruining a true vintage bike.

For me, I love matte black paint on bicycles. You mix in even a bit of carbon fiber and I'm sold. I wanted to embrace the craftsmenship that is lugged steel frames. Actually I wanted to show off the lugged steel frame. I decided to strip all the paint (tubes and lugs). Once I had stripped all the paint with the angle grinder (look at
previous post for more details), I really liked the look of the exposed steel. While I had the angle grinder out I decided I'd clean up the frame and remove all the cable guides since they are now obsolete.
Now that I have a completely striped down frame and fork. The tedious part came along. I needed to tape off all the steel lugs, and this bike has some nice features to the lugs. The easiest way is to use several small pieces of tape to help fit all the contours. Then go back with a razor blade or better an exacto knife and trim the excess from the frame.
On to Frame Painting, I painted this one the same as the
1970's Huffy. This is not the best way but it produces a decent product. For my next project, I will buy a cheap spray gun and automotive paint. That way will produce a more durable paint coat. The other way is to go onto powder coating and without specialized equipment this is impossible. Although, others have figured out ways to do this at home (google it).
So quick RE-cap of my process:
1. Angle grinder to remove bulk of paint
2. Drill attachment/ sand paper to remove in crevices
3. Wipe down very well to remove oils with degreaser
4. Plug holes and hang with coat hangers
5. Spray 2 light coats of primer
6. After 24 hours, use 600 grit wet sand paper to smooth problem areas and give good surface adhesion
7. Spray 2 light coats of Base color
8. After 24 hours, use 600 grit wet sand paper
9. Spray 2 light coats of Base color
10. After 24 hours, use 600 grit wet sand paper
11. Spray 2 light coats of Base color
12. After 24 hours, use 600 grit wet sand paper
13. Spray 2 light coats of clear coat
14. Allow a week before reassembly
Just remember that surface prep and the more thin coats with prep between each is extremely important. Also a high quality clear coat makes all the difference. Finding a matte finish clear coat is tricky but I was able to find a decent quality one at Home Depot. But you may also have luck at a body shop if they are willing to fill an aerosol can.
Step 1 - Background, Disassemble
Step 3 - Handlebar & Fork Assembly
Step 6 - Custom Leather Saddle
Step 7 - Custom Leather Handlebars


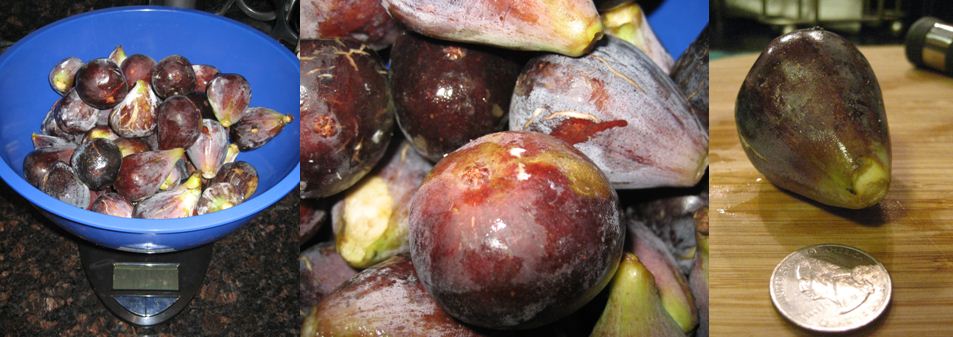
 I put all the fruit in a bag and froze and re-froze it a few times to really break down the fruit. And then it was easy to mash up while still in the bag. Next thing was to cook up this mush and bring out the dried, caramelized flavors. I added a few cups of water and then let the mixture simmer for a few hours on low until the smell was just right. The whole house smelled like fresh baked Fig Newtons. I put the lid on the pan and let it cool in the sink. And simply poured the fig/date paste into the corny keg. I'll check the pressure on the keg over the next week but this should also prove as a nice way to carb up the beer.


