
This is my first ever chile beer that I have brewed. And I only made a small 1 gal batch with it. I got this idea from Jeff B at 1227 Brewing and his Ancho Amber Ale. I am a big fan of the flavor from smoked peppers and I thought it would fit nicely into my idea for a San Diego/Mexican centric beer.

The only commercial examples that I am familar with was series of Chile Beers that Ballast Point made. These beers were more geared toward tasting menus and not as an everyday drinker. And the ones I tried were hot and spicy. It was a strange spiciness, your first sip was normal beer flavor then intense heat to your cheeks and tongue, finishing with the carbonation to help you recover. To be honest I was not a fan. But I am also the person that eats Mild Salsa or if I'm looking to party I'll step up to Medium. I just often think that spicy heat ruins the flavor of most foods. But I know there are people out there that just love there fix of Flame Thrower or Butt Twister.
 Obviously, from my commentary above I am looking for smoked Chile flavor without the kick. Jeff B had success with "dry-Chiling" his beer after fermentation. The seeds and stems were removed to decrease the amount of Capsaicin that makes it into the beer (According to wiki - "Capsaicin is present in the placental tissue (which holds the seeds), the internal membranes .. the seeds themselves do not produce any capsaicin, although the highest concentration of capsaicin can be found in the white pith around the seeds"). This is one way to reduce the amount of spice/heat in your beer, the other way is to choose a Chile that is low in capsaicin. See below for two good resources that Jeff B recommended.
http://www.foodsubs.com/Chiledry.html
http://www.foodandwine.com/articles/chiles-kennedy/sidebars/4
 I decided on Ancho Chiles partly because Jeff B had good success plus I liked the explanation on their flavor. In the future I may try a few different varieties. The Ancho chile was just put in the keg and a gallon of wort was racked on top. The beer was kept cold at 42F and carbonated. I tasted the beer every 2 days until I was really happy with the flavor. The flavor was right where I liked it around Day 10. It was then bottled and should be ready for a tasting soon.

The only commercial examples that I am familar with was series of Chile Beers that Ballast Point made. These beers were more geared toward tasting menus and not as an everyday drinker. And the ones I tried were hot and spicy. It was a strange spiciness, your first sip was normal beer flavor then intense heat to your cheeks and tongue, finishing with the carbonation to help you recover. To be honest I was not a fan. But I am also the person that eats Mild Salsa or if I'm looking to party I'll step up to Medium. I just often think that spicy heat ruins the flavor of most foods. But I know there are people out there that just love there fix of Flame Thrower or Butt Twister.
 Obviously, from my commentary above I am looking for smoked Chile flavor without the kick. Jeff B had success with "dry-Chiling" his beer after fermentation. The seeds and stems were removed to decrease the amount of Capsaicin that makes it into the beer (According to wiki - "Capsaicin is present in the placental tissue (which holds the seeds), the internal membranes .. the seeds themselves do not produce any capsaicin, although the highest concentration of capsaicin can be found in the white pith around the seeds"). This is one way to reduce the amount of spice/heat in your beer, the other way is to choose a Chile that is low in capsaicin. See below for two good resources that Jeff B recommended.
http://www.foodsubs.com/Chiledry.html
http://www.foodandwine.com/articles/chiles-kennedy/sidebars/4
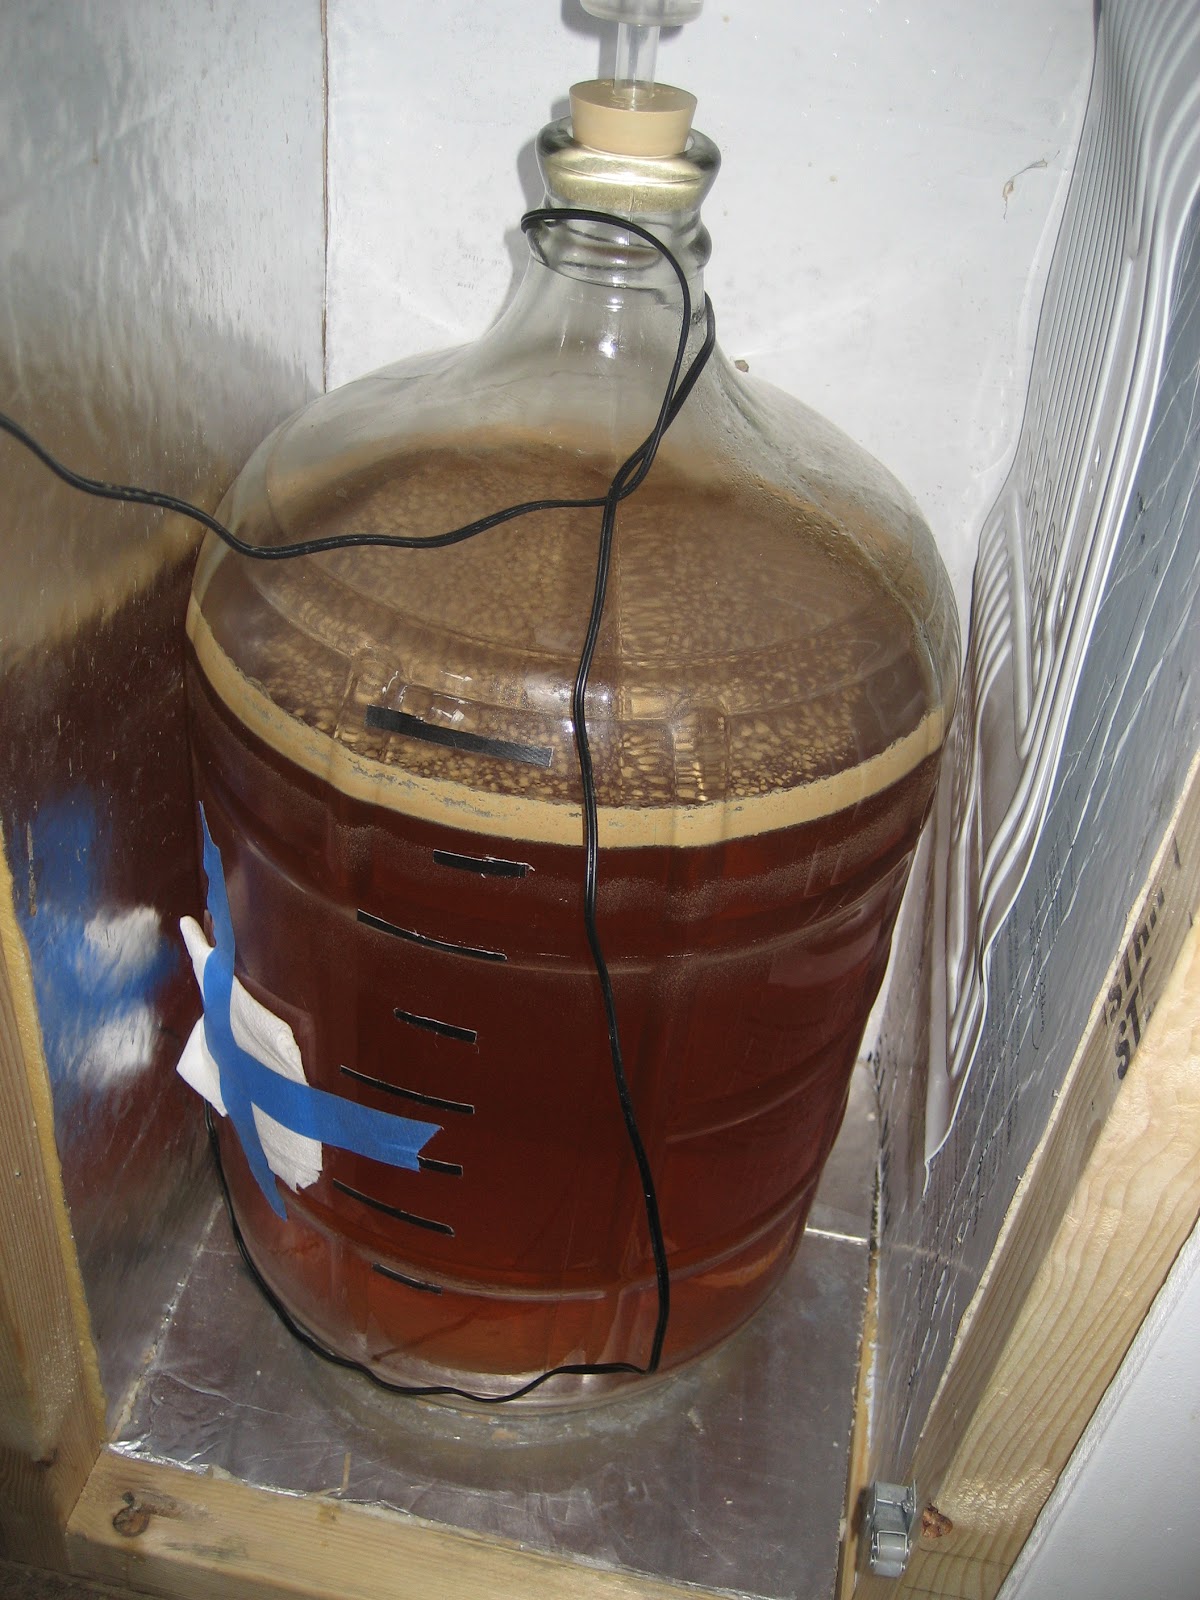 I decided on Ancho Chiles partly because Jeff B had good success plus I liked the explanation on their flavor. In the future I may try a few different varieties. The Ancho chile was just put in the keg and a gallon of wort was racked on top. The beer was kept cold at 42F and carbonated. I tasted the beer every 2 days until I was really happy with the flavor. The flavor was right where I liked it around Day 10. It was then bottled and should be ready for a tasting soon.


