Showing posts with label Huffy. Show all posts

Friday, July 2, 2010

Ash's Huffy Bike Build / Restore Step #5 - Done

For the cables I needed to completely replace the housing and cables for both the brakes and the 3 speed hub. A tip here is to keep everything together and try not to cut anything. Length matters. I headed over to my new favorite bike shop, Velo Cult in North Park. I was able to get the brake cables and housing (they cut the housing to length, which is nice because the proper tool is $25). I also got a universal derailleur cable that turned out to be its own project. I go to install the derailleur cable and the end spindle is the incorrect size. After a slight freak out I decided I can fix this by replacing the current one with my old one. The pictures explain how to do this. I had to be very careful and bend slowly using a vice.
Once that was together the way the internal hub works is by having the correct tension on the cable. It is best described here with the following:
Shimano 3-Speed Hub:
"Slide the pushrod into the axle. Screw the lever assembly onto the axle approximately seven turns. Generally, at just a bit more than seven turns, the lever will not screw on by hand any more. Back it up until the cable connection aligns with the cable.
Put the shifter into second gear and connect the cable to the lever assembly. Turn this connection until the line and circle on the lever itself align with the slot in the lever housing."

That was pretty easy to do, trust me. If the gears are not working well then more than likely you need to oil the hub. I used 10W-30 and pedaled it around a bit and it seems to be working well for being 40 years old.
Next I put the change on which is pretty easy to do with the old style master links. The master link just pops off with the easy push of a screw driver. Then make sure the chain is the right length by hooking it to the back tire and making sure it has no slack and room to be tightened in the drop-outs.
I thought I was done. But as soon as I was finished I couldn't wait till the weekend to tell me wife about it, so I started telling her how it turned out. And she reminded me that she wanted chrome fenders. Sooooo...I'm not done. But luckily this is easy so I ordered some up and installed them quite easily. I have to admit they look way better than the white ones.
Here are a few Before and After pics. I'll following up with some riding photos soon.

Friday, May 28, 2010

Ash's Huffy Bike Build / Restore Step #3

So the bike is completely apart and I mean completely. I take all the metal parts that are chrome. I put these in a kiddie pool, you can use whatever storage container you have. The closer fitting to your parts is the best so you can use less water and oxalic acid.

Oxalic acid is also called wood bleach and the only place I have been able to find it is at Ace Hardware. It is a powder and all I do is sprinkle a few tablespoons in the container after it is filled with water. Then you walk away and the next day you will be amazed. All you will need to do is get a rag and wipe the parts down. This stuff is amazing, however it does not work very well on Aluminum or Steel. Yes, it is an acid but it is very mild and will not hurt you if it touches your skin. If you have sensitive skin wear some gloves.

Next with the bike frame.This is a huge area of debate. So do your research before you touch the frame and most importantly the paint. I have done considerable amounts and it all comes down to, what is you purpose for the bike.

1. If you want a collectible that will be worth money then don't touch the paint no matter how bad it is.

2. If you want an older bike that still looks original and you don't expect selling it, at least for much money, then you can refinish the bike (600 grit wet sand paper to remove patina, then clear coat) or do use touch-up paint (good luck color matching).

3. If you want a bike that looks new but has old style and feel, then re-paint it. You won't be able to sell it for much money but that should not be your purpose if choosing this option.

For this project I chose option #3. My wife likes things clean and shiny. Plus she wanted a white bike, and those are about impossible to find with original paint. So from here you have several options for re-painting a bike:

1. Take the bike to a professional body shop where they will sand blast the frame then powder coat it. This way the bike basically be brand new and the paint is very durable. The price varies considerably but expect in the hundreds.

2. Prepare the frame (Multiple choices on this also 1. If paint is pretty good keep and just rough up surface with fine grit sand paper 2. If paint is bad /rusting then you should strip the paint to bare metal, this can be done chemically(not my choice, stinks and toxic) or mechanically (with an attachment for an angle grinder or drill)) then paint with car auto body paint with a paint sprayer. Not sure the price and depends on quality of paint sprayer and paint (my guess $50 -100 for the bike, but cheaper after having the equipment)

3. Prepare the frame (as described above) but use spray cans to apply the paint. You will need a primer (auto body type works well), your base coat color or colors, then your clear coat (varying degrees of gloss). The price of about 5 spray cans ($15 -20), sand paper, and paint remover attachment ($30).
For this project I chose Option #3 just to see how well it works. If it doesn't look good or end up being very durable then I will invest in the spray gun.

So quick RE-cap of my process:
1. Angle grinder to remove bulk of paint
2. Drill attachment/ sand paper to remove in crevices
3. Wipe down very well to remove oils
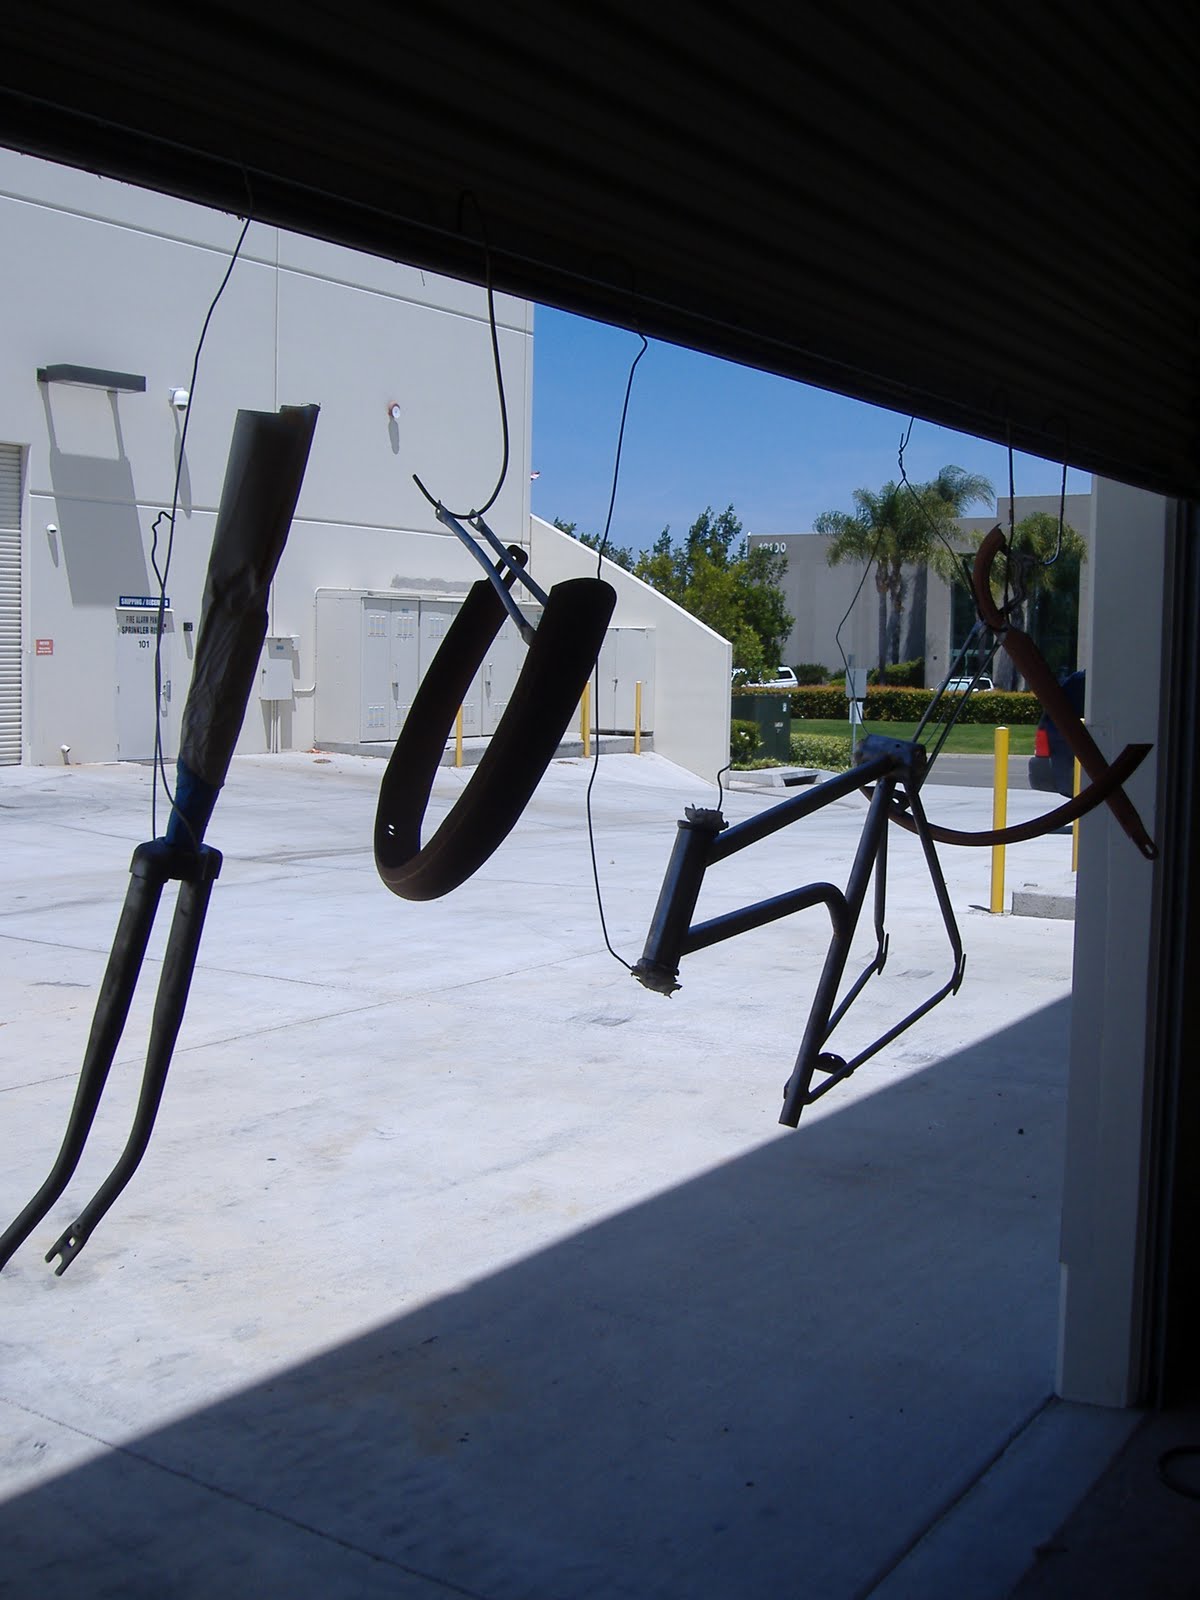
4. Plug holes and hang with coat hangers
5. Spray 2 light coats of primer
6. After 24 hours, use 600 grit wet sand paper to smooth problem areas and give good surface adhesion
7. Spray 2 light coats of Base color
8. After 24 hours, use 600 grit wet sand paper
9. Spray 2 light coats of Base color
10. After 24 hours, use 600 grit wet sand paper
11. Spray 2 light coats of Base color
12. After 24 hours, use 600 grit wet sand paper
13. Spray 2 light coats of clear coat
14. Allow a week before reassembly
I think the next bike I'll try the paint sprayer and report back on that.
Related Posts Plugin for WordPress, Blogger...