Wednesday, October 26, 2011

Adding Wild Gooseberries to Beer

 After reading about the Hunter, Angler, Gardener, Cook going foraging for berries in the Sierras I became interested what type of berries could I find in San Diego County. Well, there are actually quite a few (blackberries, thimble berries, salmon berries, currants), but the one I was most interested in was the wild gooseberry. There are several varieties of the gooseberry in San Diego County, but the most abundant and convenient is the Fuchsia-Flowered Gooseberry (Ribes speciosum). Once I knew what to look for I saw them everywhere. They are located on trails in Poway, Clairemont, Scripps Ranch and most of the county.


First off, they are extremely easy to spot in the spring due to their beautiful and bright colored flowers. (flower picture borrowed from here). And then when the berries are starting to get ripe in late July the leaves turn a nice bright red color.


Now, here is the catch. These bushes have some crazy spines on them and they make picking difficult. In addition, these plants grow in the same places that poison oak does (also another way to find them). So look along stream beds that are shaded by Oak trees. The other unfortunate part is the berries ripe in btaches. I had to collect 3 or 4 times over 2 weeks to get a usable amount.


As I collected the berries I would give them a good wash and then into a ziplock in the freezer. From there I pretty much followed the directions on Hunter, Angler, Gardener, Cook.


  1. 4 cups of Sierra gooseberries into a large pot. Barely cover the berries with water, cover the pot and bring to a boil.
  2. Boil for 2-3 minutes. Turn off the heat and, using a potato masher or large spoon, crush the berries to a pulp. Do not blend.
  3. Let this steep, covered, until it gets to room temperature, then pour everything into a container and let it sit overnight in the fridge.
  4. Strain the juice through a sieve lined with cheesecloth or press with a juicer. This will store in the fridge for a week or so, as-is.

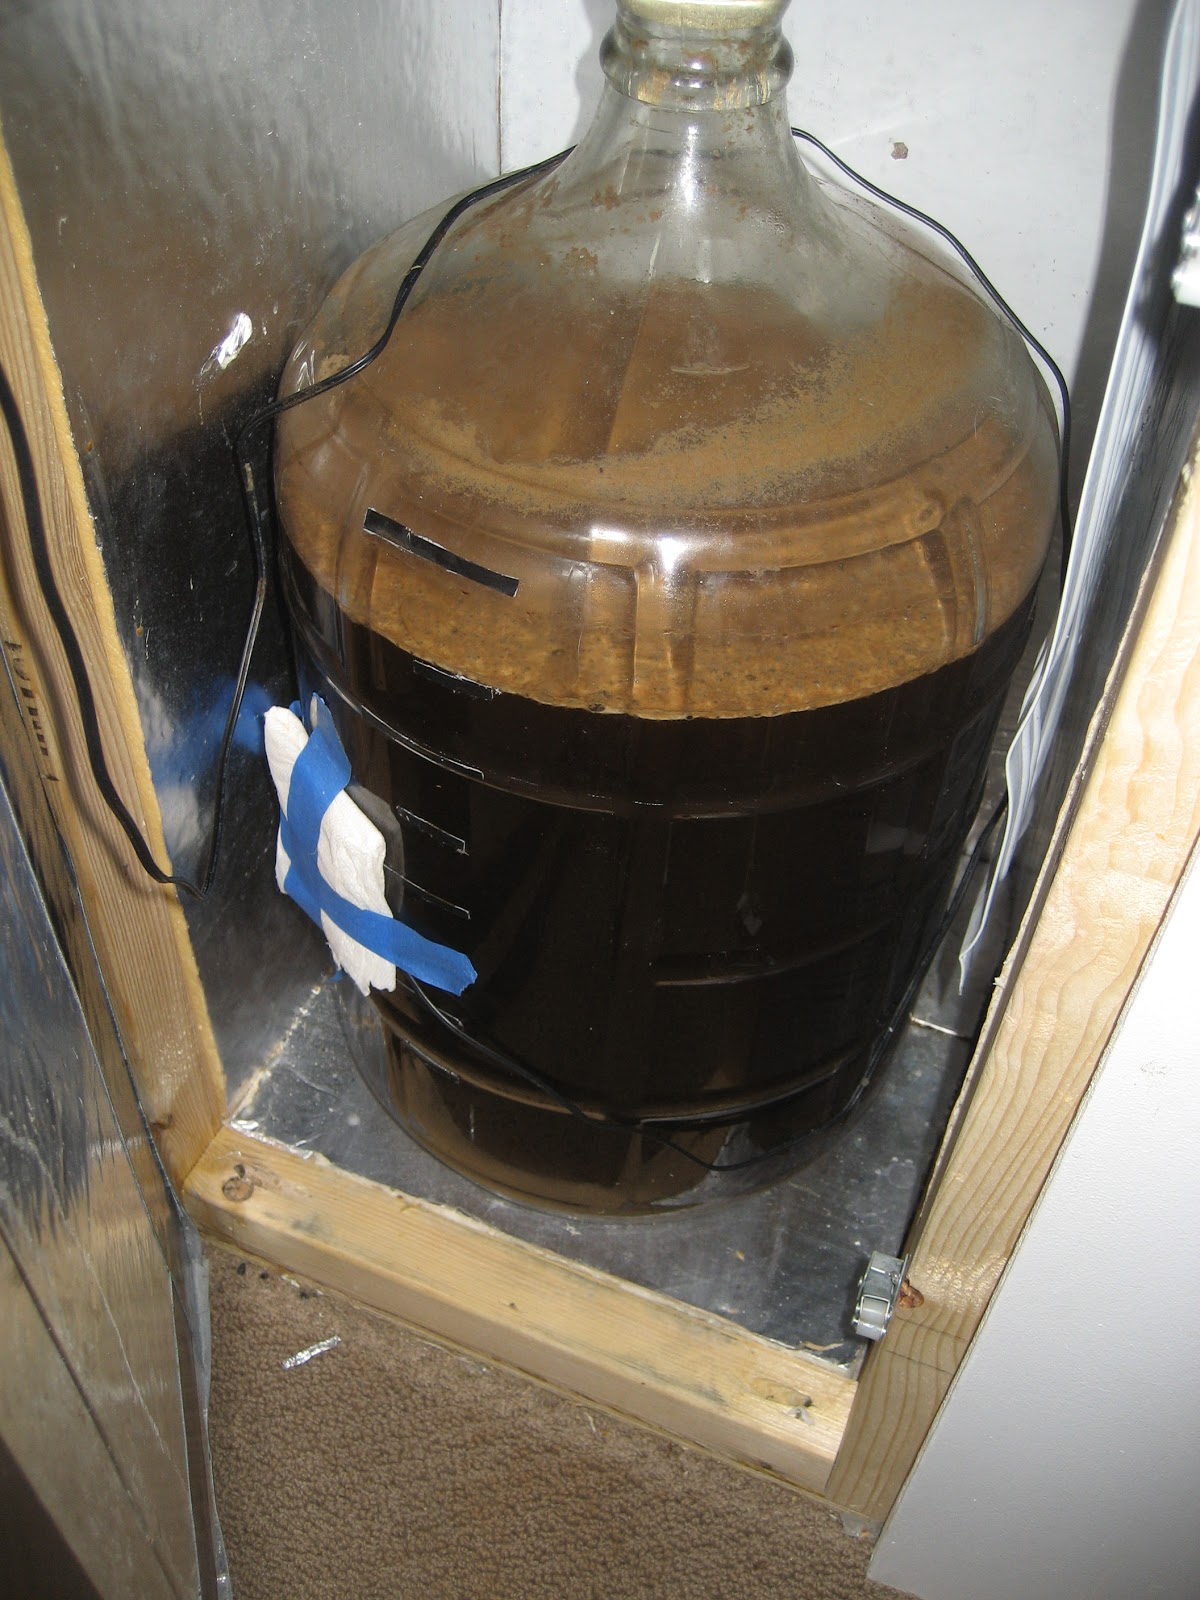
I ended up with about 6 oz of juice with a gravity in the 1.040s. The juice is delicious and has a very strong aroma. The flavor is difficult to explain: it has a good level of tartness and a is sorta candy-like. This juice was added straight to my Holiday Party Oud Bruin.

Thursday, October 20, 2011

Homebrew Tasting: Dark Saison - Sour Version

For the most part my Dark Saison really came together. I tasted the beer about a month after fermentation and it was very rough and muddled. Even with the Saison yeast the beer had a decent amount of alcohol warmth, but that was to be expected for a 9% beer. I knew with time that this beer would end up being pretty nice. I decided to bottle a gallon of the straight version. Then another 6-12 oz bottles with Jolly Pumpkin dregs at bottling and  6 more bottles with Avery 15 dregs (I used a sanitized pipette to take 2 ml of yeast stored in White Lab vials) . I then had about 2.5 gallons that I racked to a keg and added dregs from Jolly Pumpkin and Avery 15. I was inspired to go sour after reading the Mad Fermentationist review his Dark Sour Saisons. And I knew this would go over well as a special keg to bring out this Fall and Winter.


One flavor that I forgot in my tasting notes was tobacco. I have heard that term so much, but never experienced it until it hit me after drinking my second glass that night. (Notice in the picture I only gave myself smaller 10 oz pours so I feel like I'm at a bar).

I'll be tapping the rest of the keg soon and give you feedback from others.

Tuesday, October 18, 2011

Dreg Series: Ommegang Belgian Dubbel

I am in general a fan of Ommegang. You know when you have one of their beers that it will be a solid, tasty beer. Not necessary the most interesting and complex flavor, but a great drinking beer. After the Achel dregs went bad, I needed a back-up so a quick run to the local good beer store, Best Damn Beer Shop, and I had a bottle of Ommegang Dubbel.

There is some mystery as to if the White Labs 410 is the Ommegang strain or if it is only a proprietary yeast strain not available to homebrewers. I will try to find out by comparing my results with the reviews of WLP410 and see if I agree. It appears like it is on the phenolic and spicy side of the Belgian flavor spectrum and some report a small amount of tartness produced.

This batch got the same treatment as the other dregs beers. I used 6 oz of a 1.030 starter wort + nutrients boiled and cooled. And added directly to the 750 ml bottle. Do this 3 days before and shake as often as possible. It was pitched at 65F and allowed to free rise up into the high 70s. I had activity in 12 hours and this beer seemed to ferment out in less than a week. Then it was bottled after 3 weeks.

12 hours


Day 1


Day 2


The three-way taste test will be posted shortly with the 575 Dubbel and Westmalle Dubbel.

Friday, October 14, 2011

Dreg Series: Westmalle Belgian Dubbel

This is not going to be a long post (because the background has been explained in a previous post), but more of a post so that I can keep updating with the beer's progress. My initial plan for the 2 - 1 gal batches using dregs from Belgian beers was to try Westmalle and Achel. The reason for this is because they use the same yeast according to Brew Like a Monk. So it would have been neat to see if how closely they turned out. Unfortunately, after building up the yeast in the bottle of Achel it may have had an infection. The Westmalle yeast had no problems.


According to the Mr Malty Yest comparison charts, White Labs 530 and Wyeast 3787 are both the Westmalle strain. So you can read those descriptions to get an idea if it is worth it for you to try using the dregs. Personnally, I really like Westmalle Dubbel. It is somewhat clean for a Belgian yeast with just a little bit of fruit to it. Which I think fits perfectly for a Dubbel and a Grand Cru.

I used my standard procedure for building dregs: 6 oz of 1.030 starter wort + nutrients boiled and cooled. And added directly to the 750 ml bottle. Do this 3 days before and shake as often as possible. I had activity in 12 hours and this beer seemed to ferment out in less than a week. Then it was bottled after 3 weeks.

12 hours


24 hours


Day 3


Tuesday, October 11, 2011

Belgian Series: Belgian Dubbel 2011

I am a huge fan of Belgian Dubbels, so I am still on my quest to perfect this style. Last year's Dubbel turned out pretty well, but I had a few improvements I wanted to make.

1. Add oxygen - I still have not made this upgrade, but this batch was aerated by shaking for several minutes and again after 6 & 12 hours.

2. Use D2 syrup instead of homemade syrup - I followed my advice and spent the $6/lb for the real D2 syrup. After one taste of this stuff you can tell there is a difference. It was much more complex and had more of a chocolate than my attempt at making syrup last year. And saved a lot of effort. Here is a good post on trying to make dark candi sugar at home, if you still want to try.

3. New yeast or different fermentation temperature - I discussed about my yeast choices in the Belgian Pale Ale post. I used the washed and measured WLP 575 yeast to brew this batch. I really think the more restrained fruity esters will help bring out the great malt backbone that I like. I also pitched at 64 and allowed the beer to free rise into the mid 70s.

Above were the improvements I noted from last year. I also added a few more once reading Brew Like a Monk and also tasting more examples of the style.

1. Increased the Munich Malt to enrich the Malt Backbone
2. Increased the Aromatic Malt to make the beer a bit more bold
3. Added Flaked Wheat to help with head retention (rocky head on Belgian Beers is very important to me)
4. Used a higher alpha hop to reduce chance of astringency. Plus I lowered the IBUs to help the malt sweetness increase (recommended by Tomme Arthur in the Brew like a Monk book)
5. Used a soft water profile to help reduce astringency and accentuate the malt.
6. Mashed higher at 151 to increase body and malt sweetness.


On to the fun part about Brew Day. I now have my brew system down pretty well. I still always make adjustments if needed for mash temperature or boiling time depending on my extract. But this time it was on another level. I had friends help me brew my last batch and of course I had them do the crappy job of emptying the mash tun. Well, they emptied everything including my copper manifold. It was my fault for not warning them or checking for the manifold after cleaning. I did not realize this until I was just about to mash in for this current batch. So what do I do now?

I have all my ingredients. I have a good block of time. In addition this was my first time trying to brew after work on a weekday. So the homebrew stores are closed plus to make a new manifold would take some time. That's when I remembered I had a paintstraining bag, so I tried a modified brew in a bag method. It worked out, but was difficult because I was already maxing my Mash Tun with 15lbs of grain. My efficiency was a bit low, so I added a bit of table sugar to get my O.G. up higher.


Recipe: Belgian Dubbel 2011
O.G.-1.062  F.G.-1.001   IBU-16
SRM-21   ABV-8%   Batch-7 Gal

Grain Bill:
10 lb Belgian Pale Malt (61%)
2 lb  Munich Malt 10L (12%)
1 lb Aromatic Malt (6%)
1 lb Flaked Wheat (6%)
8 oz Caramunich I (3%) 
8 oz Special B (3%) 
1lb D2 Candi Syrup (6%)  
8oz Table Sugar (3%)

Hops:
.35oz Magnum , 13.5%, pellet, 90 min 15.5 IBU
  
Yeast:
150-200 mL White Labs WLP575 (From Belgian Pale Ale)

Brew Day:
Brewed: 8/9/11

Water:
see Chart

Mash Details:
H2O/Grain Ratio: 1.3 qt/lb
Mash Volume: 3.67 gal
Sacc Rest. Temp/Time: 151F @ 60min
Strike Temp: 162F
Batch Sparge Volume: 5.5 gal
Sparge Temp/Time: 170F @ 30min

Boil Details:
Boil Volume: 7 gal
Boil Time: 90min
Post Boil Volume: 5.5 gal

Ferment Details:
O.G.: 1.062
Ferment Temp: Pitched at 64 and allowed to free rise 2 degrees/day up into the mid 70s
F.G.: 1.001


This was another 7 gal batch so I can have a 5 gal batch with WLP575 and 2 - 1 gal experiments with dregs from Westmalle Dubbel and Ommegang Dubbel. Those posts will come shortly.

Friday, October 7, 2011

The Flandria Fixed Gear (Fixie) Conversion Project - Custom Leather Saddle

The bike had the original Italian leather saddle that had seen much better days. Plus the rest of the bike is custom-made so I can't just put on a purchased bike saddle. So I decided to recover the old seat. I did a good internet search and found quite a few resources. It looked easy enough so I went for it.


A great site about custom handlebar tape and bike saddles - has some great ideas here.
An Instructables Guide about re-covering leather bike saddles. I basically followed dead on 9make sure to read the comments for some extra tips)
Another Instructable Guide about bicycle saddles and equally helpful

So here are some pictures and tips that I picked up while making mine.

1. The best place to get leather is an Upholstry store. They have a great selection and often a bunch of scrap pieces that will be big enough for a bicylce saddle. I originally was going to just go straight black leather, but once I saw this distressed leather with paisleys I was sold.

2. It is best to use the old cover as a template. If not, just trace around the saddle and error on the side of too much material. You will probably need to trim as you go anyways.

3. All bike saddles are built a bit different. You want to start by securing the leather to the nose of the saddle. I used staples right into the hard plastic case. This seemed to work well. The trick is to keep folding and stretching the leather till it looks smooth around the front. Then put in a couple more staples into the nose to hold down the folds.
4. Sand off any glue that is left on the cushion part of the saddle. Then clean it well and apply spray adhesive to the whole seat. Follow the directions on the can (you have to wait 30 seconds for it to get sticky)


5. Starting at the nose, stretch and smooth the leather as you work towards the back of the saddle. Pull the leather around the sides and trim. You want about a 1/2" of over hang so that you have enough of a surface to glue but not too much or it will create big folds.
6. Using contact cement, work your way front to back gluing the leather to the underside of the saddle. This worked pretty well for the sides, but the rear area needed staples.

7. The most difficult part are the corners, you will need to fold, stretch and then staple the leather. Work your way from each side and finish at the center. Try several times and keep checking that the top of the saddle looks smooth.

8. Let the saddle dry for a few days.

Coming up next....Custom handle bar tape from the same leather.


Step 1 - Background, Disassemble
Step 2 - Frame Painting
Step 3 - Handlebar & Fork Assembly
Step 4 - Gearing (Gear Ratio)
Step 5 - Wheels and Hubs
Step 6 - Custom Leather Saddle
Step 7 - Custom Leather Handlebars
Related Posts Plugin for WordPress, Blogger...